Get a fake document online is easy: just explore our catalogue and order the one you like, you will receive the full template customizable as you like. Some tips:
Download template: After purchase and payment verification (crypto is immediate, other like credit cards can take some hours), you can download azip file with: a .psd template + extra fonts + instructions and url to free online editor.
Unzip downloaded file: after download into your computer desktop, you can unzip by click on the file, and extract all content. If you don’t have Winzip software installed, you can get here for free: www.winzip.com/en/download/winzip/ . If you are using your mobile phone, you can use a free app to unzip files. Or use the app Files if you are using Android phone.
Edit your template: To edit high quality template .psd you have to use Photoshop, or if you don’t have it, you can use free editor online Photopea.com. They work very similarly. So, you can edit as you like (as many times you need) all pre-compiled text lines.
Here step-by-step instructions:
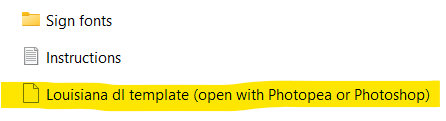
1) Unzip file download, you will see:
– the template file in .psd format
– instructions
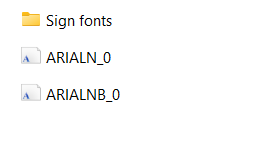
– folder with additional fonts for specific template (optional, not for every product)
2) [optional] with Photoshop or with photopea.com , open the fonts (only if available). In this way, your editor will install these additional fonts
3) open the editable .psd file with Photoshop or go to www.photopea.com and open it
Missing fonts? All fonts should also be already there, but if not just go to bottom page, you can download all fonts
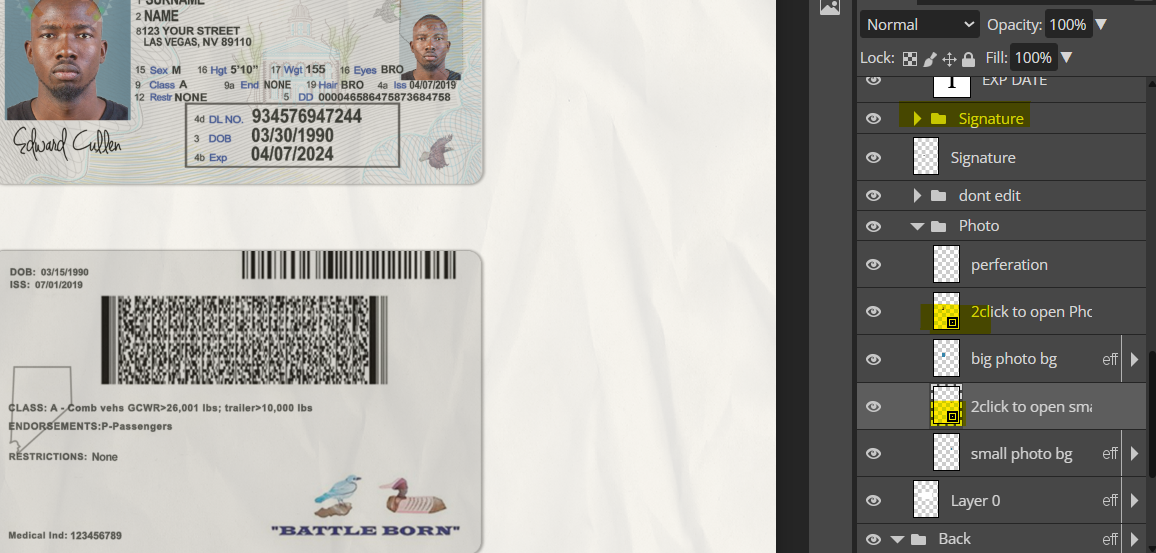
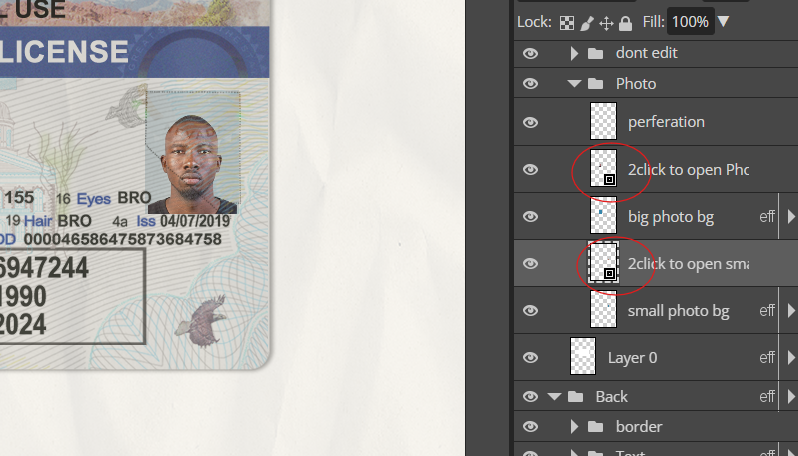
3) after open the .psd file, you will see a menu on the right: layers are organized in groups, so you can edit texts, or the signature, the photo, etc. See the example:
4) Edit Text: Select (from the left menu) the Text (T) icon, then click on the text you want to edit. When edited, click on the icon on top right.
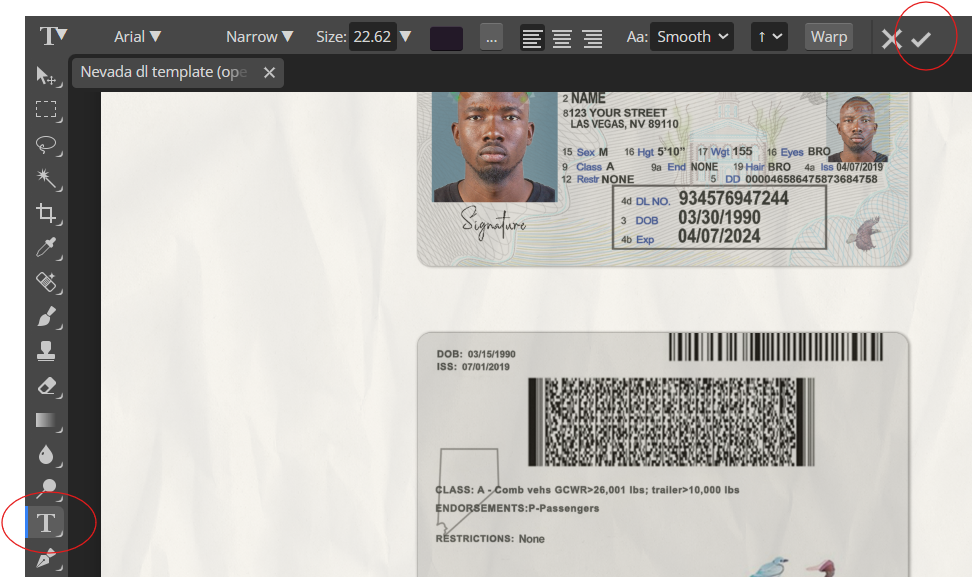
4b) you cannot edit? So your template has a separate section for edit texts. Locate on the right menu the Text Section, double click on, and it will open the mask into another window, like this example. Then you can edit using the T icon and click on texts. Here a video tutorial in case the template has the mask
p.s You don’t have to add new layers: you just need to edit what is already available
7) after finished with this mask you have to Save and Close mask: main manu in the header –> click on file –> click on Save Smart Object (or simply use CTRL + S). Then, close this mask (with X) and you will return to main document, with fields updated.
Now you can repeat with Photo and with Signature
9) Add/Change your photo: as for the fonts, look at the right menu, and scroll until you find the Image Layer If the image show a layer symbol on bottom-right like this, simply double click on it –> on the new window you can easily upload your photo (you can find image with text “Click bottom right to edit“). Here some examples:
10) It will open another mask. Now you can upload your photo. To do this: main menu File –> Import incorporate; Now you can adjust as you like (drag/resize), and when ready remember to save this mask (ctrl + S or main menu: File –> Save smart object) . After you can close the mask (use the x) and you will return to main document with updated picture
Note: do you need to remove background from your picture? You can use the the tool suggested in instructions included in the file, or you can send to us via Telegram and we will remove background for you.
Some final tips:
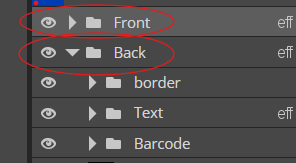
Select front or back of a document. In some template front & back are not on the same page, so you have to switch from one to other:
- look at right layers menu on the right
- select/unselect only the side you want to edit (only front or only back)
Fonts: usually all fonts you need are already installed on your Photoshop or on Photopea. But is some missing, you can install for free. Download this Font Pack and follow instructions:
- Photoshop: select font, double click, accept. Then restart Photoshop
- Photopea: upload each font as a single file. Then open your .psd file
Signature: you can simply edit the already present signature. If you like, you can change font using another coursive one. If you like to add a personal signature, the easiest way is go to an online editor, like picturando.com/photo-editor or click on Draw, write your signature, click on Save as .png and then you can add on your template (click on Signature layer, upload your signature, untick the default one). Otherwise you can easily use the already present one, just edit it.
Availability: After 1 week, you cannot download/access template anymore
Issues: You did not received your product? Usually we deliver in some hours/6 hours max. If you did not received anything, check the spam folder, and feel free to contact us (also by Telegram: @picturando)